When I decided to use the mini format for my weekly planner, I was not sure whether to use the standard Filofax format, or the off-standard Succes format. I would prefer my succes mini organizer, but on top of the challenge of finding matching pen sizes with less than 120mm, the succes model has a very unusual pen loop position and size. Therefore, I wanted to have the option to move my inserts to a regular format at any time.
The difference between the standard mini format and the succes mini format is the distance from the middle ring to the adjacent rings. While standard organizers use 3/4" distance between all five rings, the succes format has 1" distance from the middle ring to the adjacent rings. That makes 1/4" (6.35mm) difference for the outer ring pairs. With a standard organizer punch having 5.5mm punch diameter, that would give a tiny 0.85mm distance between the punches. But at an appropriate punch size of 4.5mm, the distance is 1.85mm. That does not sound much either, but if the punches are aligned properly, the distance is enough to look solid.
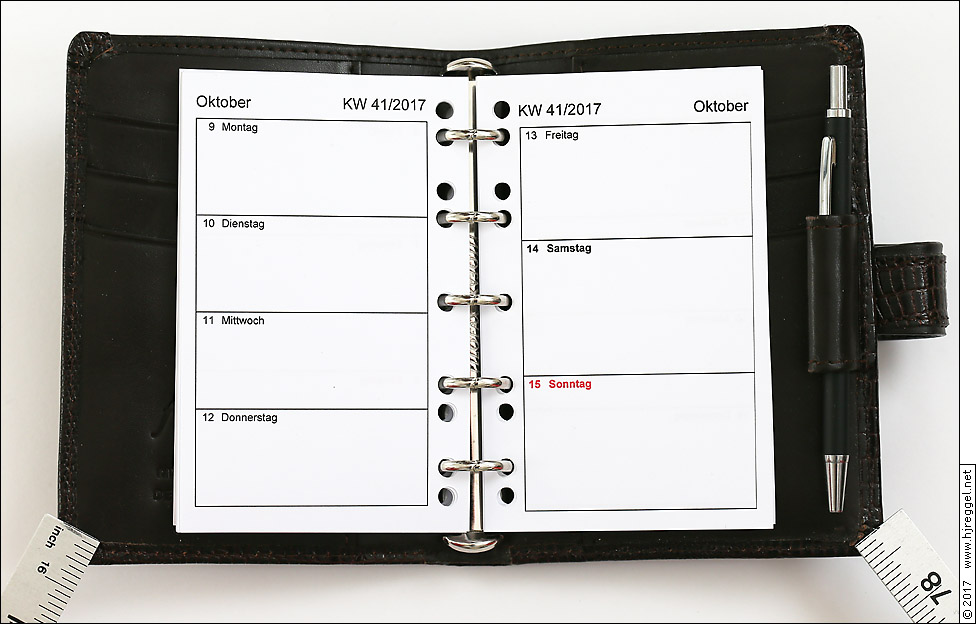
Below you can see how the combo punched paper fits inside the Filofax Mini organizer.
| |
| Combo Punch Paper in a Filofax Mini Organizer | |
Below you can see how the combo punched paper fits inside the Succes mini organizer. Please note the size and position of the pen loop. But I like the extra span of 12.7mm, that gives a better edge-to-edge hold of the paper.
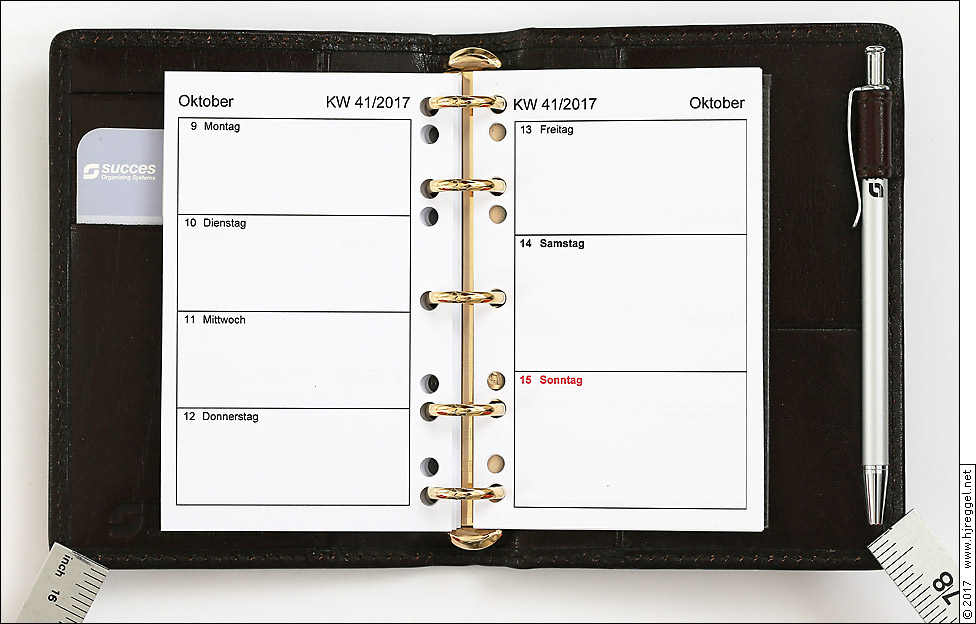 | |
| Combo Punch Paper in a Succes Mini Organizer | |
Paper drilling is usually done with dedicated paper drilling machines using special hollow paper drill bits. Some machines use custom fittings, but there are paper drilling systems that use paper drills with cylindrical shaft. The paper drilling machines work at 1200-2400 RPM, so any regular pillar drill is able to drive these drill bits.
For me, using a regular pillar drill woked fine. Please note that if you try it yourself, you do this at your very own risk. Don't forget to protect your eyes and hands. It might be helpful to have someone operating the power switch, but remember that you are putting a second person at risk in that case.
All you need is a rigid flat base board that does not ruin the drill bit if you get too deep, a guide for setting the distance to the paper edge, and a layer of strong cardboard below the paper stack. Unlike with dedicated paper drilling machines, you won't have special features that make the job easier. You won't have a paper pressing mechanism, so you might have to carefully hold down the paper stack while retracting the drill. And there is no drill waste collection, any excess drill waste will clog up the tap holder. You should remove the drill waste after having drilled about half of the total drill bit length.
Below you can see the setup after having drilled the combo pattern - with the clear protective shield flipped up.
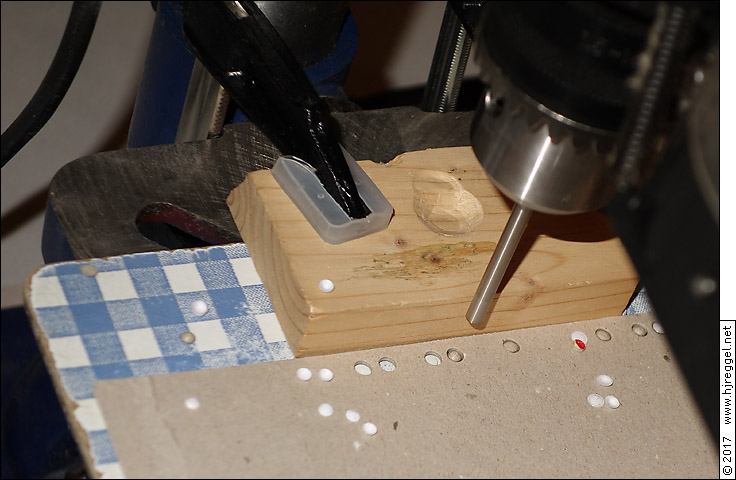 | |
| Paper Drilling setup using a regular Pillar Drill | |